Proxmox
In 2020, I started running TrueNAS on an old desktop-pc. Due to space and ventilation problems, I decided to upgrade my NAS.
Software
Starting Point
I really like TrueNAS Core because it exceeded all my expectations, and also because of its stability and ease of use. It makes data handling a joy and I love the perfectly integrated ZFS. That’s why TrueNAS had to stay somehow…
For Readers not familiar with TrueNAS, there is only ZFS as Filesystem. It includes a lot of nice features like Software RAID, lean snapshotting and replication.
My first setup with the old desktop-pc was limited to FreeBSD and its jails, because of the CPU. The CPU wasn’t able to virtualize another OS on top of TrueNAS. This is why I get used to the FreeBSD Jails, which is fine, but I also want to run Linux OS’s.
Proxmox, TrueNAS Core or TrueNAS Scale?
There were different possibilities, which would fit my needs:
TrueNAS Core
I could just stick with plain TrueNAS Core as I was used to and virtualize some VM’s on this. I read and was getting convinced, that TrueNAS Core is built as a NAS solution and the virtualization is not as user-friendly as it could be.
TrueNAS Scale
TrueNAS Scale is available for testing for quite some time now. For homelabs it is probably stable enough right now. It is also based on a simple Debian, which I like, however I read that many features are still buggy.
Proxmox
Proxmox is a pure Hypervisor which would certainly fit my needs in this aspect, but what about my Storage needs…?
The combination
Inspired by some other blogs I decided to go with the combination of Proxmox and TrueNAS Core. Proxmox as the host system, and TrueNAS as a VM with passed through SATA-Controllers. I admit, it is a complex system, which comes with drawbacks (especially an extra layer, which can fail…), but I don’t like to have unnecessary hardware either.
The setup was straight forward thanks to the nice documentation of proxmox. The hardware-passthrough takes some time to get configured, but once it is done it runs fine (see documentation and wiki1).
One has some possibilities on what filesystem to install proxmox like ext4, xfs, btrfs or zfs. Because of my good experiences with zfs in TrueNAS I chose zfs. Proxmox sets automatically a cronjob to scrub the setup pool.
root@pve:~# cat /etc/cron.d/zfsutils-linux
PATH=/usr/local/sbin:/usr/local/bin:/sbin:/bin:/usr/sbin:/usr/bin

# TRIM the first Sunday of every month.
24 0 1-7 * * root if [ $(date +\%w) -eq 0 ] && [ -x /usr/lib/zfs-linux/trim ];
then /usr/lib/zfs-linux/trim; fi

# Scrub the second Sunday of every month.
24 0 8-14 * * root if [ $(date +\%w) -eq 0 ] && [ -x /usr/lib/zfs-linux/scrub ];
then /usr/lib/zfs-linux/scrub; fi
Things i don’t like in Proxmox
- It is a little inconvenient to set it up with no subscription. You need to adjust repositories and every time you login, there is a warning, that you do not use a subscription…
- There are no temperatures like in TrueNAS in the Proxmox dashboards and the WebUI in general is less nice.
Hardware
I only used consumer grade hardware. Here a list:
- Mainboard: MSI Pro Z690-P D4
- CPU: Intel Core i7-12700K
- Case: Fractal Define R5 Black
- Main-Disks: WD Blue SN550 2TB (in ZFS mirror)
- Memory: 4x Transcend DDR4 LONG-DIMM, 2Rx8, 32 GB
- Big Pool: 3x Seagate Exos X18 18 TB, 3.5”, CMR (in RAIDz1)
- other disks in different configurations…
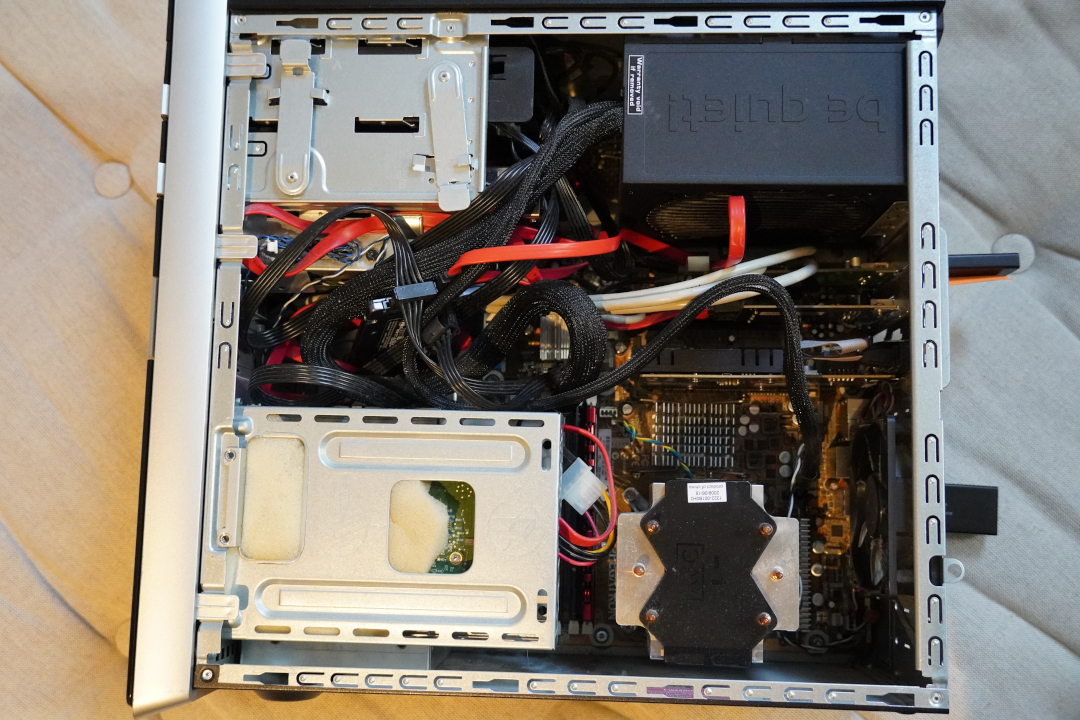
Before
Clearly a little mess. During disassembling some drives were too hot to touch…
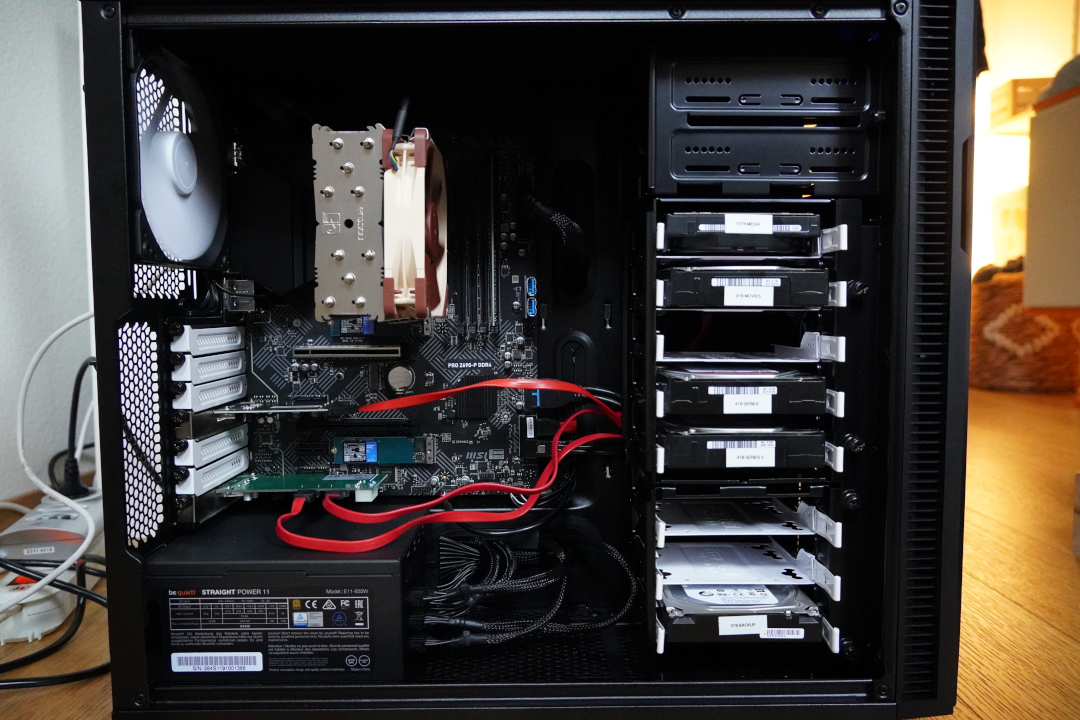
After
That’s more like it. Tidy and guaranteed airflow, also for the hard-drives. Additionally,
upgrading the hardware in this case is fun, whereas in the previous case it was always
a fight accompanied by scratches.

